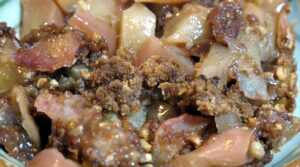

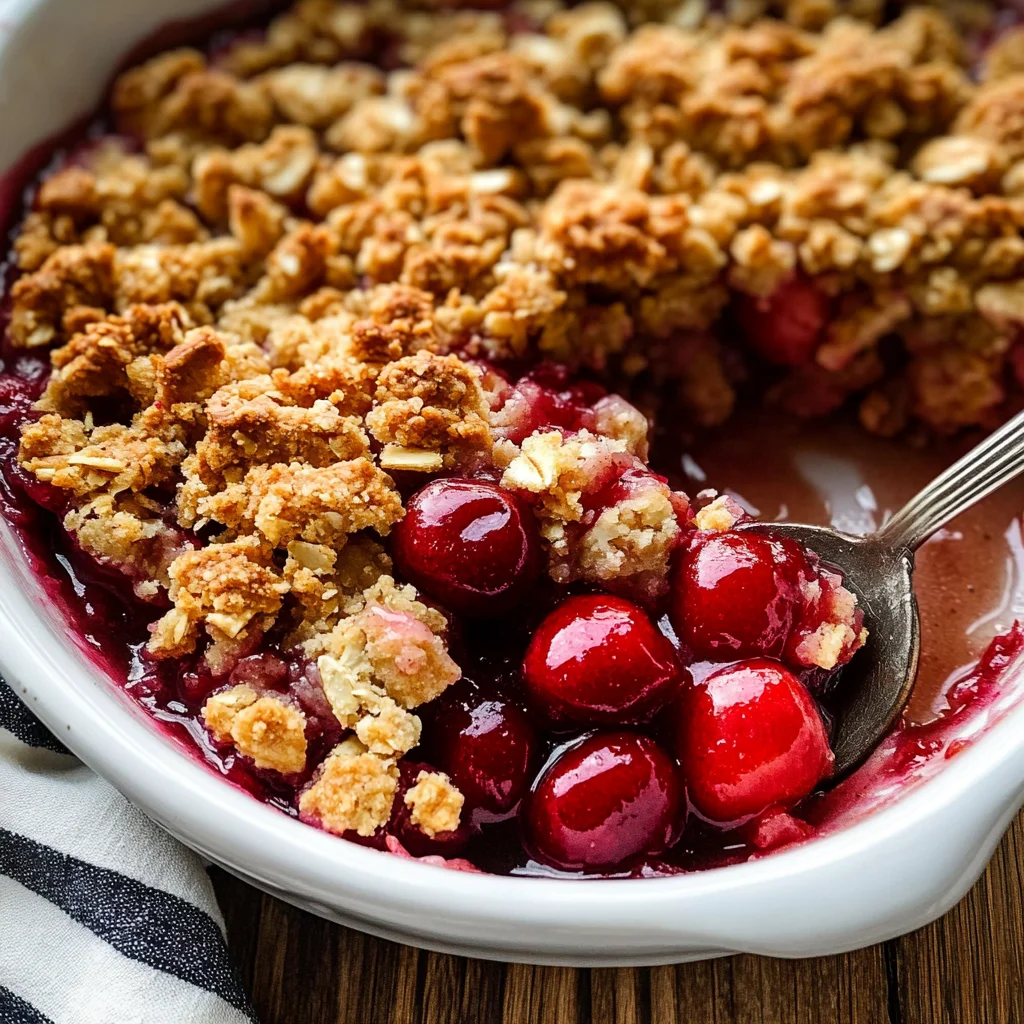
Nothing beats the sweet and tart explosion of a perfect cherry crisp recipe, topped with a crunchy oat and brown sugar topping. The aroma wafting through your kitchen will have everyone asking what smells so amazing, as they anticipate that first scoop with a delightful scoop of vanilla ice cream.
I remember the first time I made this cherry crisp for my family during a summer barbecue. The moment it came out of the oven, my dad turned into a giddy kid again, sneaking spoonfuls before it even reached the table. Trust me; you want to make this dish when you’re looking to impress or simply enjoy something deliciously comforting.
[info_box title=”Why You’ll Love This Recipe”] This cherry crisp recipe is incredibly easy to prepare, making it perfect for both novice cooks and seasoned chefs. The sweet and tart flavor profile balances beautifully with the crunchy topping, creating a dessert that’s hard to resist. Visually stunning with vibrant red cherries peeking through golden-brown crisp, it’s sure to be a hit at any gathering. Versatile enough to use fresh or frozen cherries, you can whip this up any time of year. [/info_box]
I still chuckle at how my brother claimed he could eat the entire pan in one sitting—he almost did!
Essential Ingredients
Here’s what you’ll need to make this delicious dish:
-
Fresh Cherries: Choose ripe cherries for the best flavor; pitting them can be messy but totally worth it.
-
Granulated Sugar: A little sugar goes a long way in enhancing the natural sweetness of the cherries.
-
Brown Sugar: Adds depth and richness to the topping—always opt for packed brown sugar for maximum flavor.
-
Oats: Rolled oats create that perfect crispy texture; quick oats can work in a pinch but won’t be as crunchy.
-
Flour: All-purpose flour helps bind your topping together beautifully; gluten-free flour works just as well if needed.
-
Cinnamon: A dash of cinnamon elevates this dish by adding warmth and spice; don’t skip it!
-
Butter: Use cold butter for your topping—this ensures that gorgeous crumble texture we all adore.
The full ingredients list, including measurements, is provided in the recipe card directly below.
Let’s Make it together
Preheat Your Oven: Preheat your oven to 350°F (175°C). Grease an 8×8-inch baking dish with nonstick spray or butter for easy removal later.
Prepare Your Cherries: Wash and pit about four cups of fresh cherries. Toss them with granulated sugar and let them sit while you prepare the topping—this helps draw out their juices.
Create the Topping Mixture: In a mixing bowl, combine rolled oats, flour, brown sugar, cinnamon, and cold diced butter. Use your fingers or a pastry cutter to mix until crumbly but not completely blended; you want some larger chunks for texture.
Combine Cherry Filling with Topping: Pour your prepared cherry mixture into the greased baking dish and spread evenly. Sprinkle your oat topping generously over the cherries—don’t hold back!
Bake Until Golden Brown: Place in preheated oven and bake for 30-35 minutes until the top turns golden brown and bubbly. You’ll know it’s done when you see those lovely cherry juices bubbling around the edges.
Cool Before Serving: Let your cherry crisp cool for about 10 minutes before digging in—this allows the flavors to meld beautifully. Serve warm with a scoop of vanilla ice cream on top for an irresistible treat!
Enjoy every bite of this delightful cherry crisp recipe!
[info_box title=”You Must Know”] This cherry crisp recipe is a delightful blend of sweet and tart flavors. The aroma of baked cherries fills the kitchen, making it hard to resist. Serve warm with a scoop of vanilla ice cream for an unforgettable dessert experience. [/info_box]
Perfecting the Cooking Process

Start by preheating your oven to 350°F. While that’s heating up, mix the cherries with sugar, then prepare your crisp topping in a separate bowl before combining them in a baking dish.
Add Your Touch
Feel free to swap out cherries for other fruits like blueberries or peaches. Adding a sprinkle of cinnamon or nutmeg can also elevate those flavors beautifully.
Storing & Reheating
Store any leftovers in an airtight container in the fridge for up to three days. Reheat in the oven at 350°F for about 10 minutes for that fresh-baked taste.
[info_box title=”Chef’s Helpful Tips”] For the best cherry crisp recipe, use fresh, ripe cherries if possible; frozen works too but may need extra time. Mixing oats and nuts into your topping adds texture and flavor, while ensuring even baking creates that perfect golden crust. [/info_box]
It was one summer evening when my aunt surprised us all with her legendary cherry crisp. You could hear the oohs and aahs as each bite melted in our mouths—a memory I cherish every time I make it.
FAQ
Can I use frozen cherries in this cherry crisp recipe?
Absolutely! Just increase cooking time slightly to ensure they bake thoroughly.
Is it necessary to peel the cherries before using them?
Nope! The skin adds texture and nutrients—just wash them well before baking.
How can I make this cherry crisp recipe gluten-free?
Simply use certified gluten-free oats and swap all-purpose flour for almond flour or another suitable alternative.
Cherry Crisp
Ingredients
Method
- Preheat the oven to 350°F (175°C).
- In a mixing bowl, combine the pitted cherries, granulated sugar, cornstarch, vanilla extract, and lemon juice. Toss to coat the cherries evenly.
- Pour the cherry mixture into a greased baking dish.
- In another bowl, mix together the oats, flour, brown sugar, and cinnamon.
- Add the melted butter and stir until the mixture is crumbly.
- Sprinkle the crisp topping evenly over the cherries in the baking dish.
- Bake in the preheated oven for 30-35 minutes, or until the topping is golden brown and the cherries are bubbly.
- Remove from the oven and let cool slightly before serving.